You’re wandering through the dust-choked ridges of Chapter 2 in Black Myth: Wukong, feeling like a god after beating the Tiger Vanguard, and then it happens. The screen fills with grit. The music shifts. You meet the Yellow Wind Sage, and suddenly, the game isn't a power fantasy anymore. It’s a survival horror. Honestly, this guy is a massive wall for most players, and there is a very specific lore reason—and a very specific mechanical reason—why he feels so "unfair."
He’s not just some random demon.
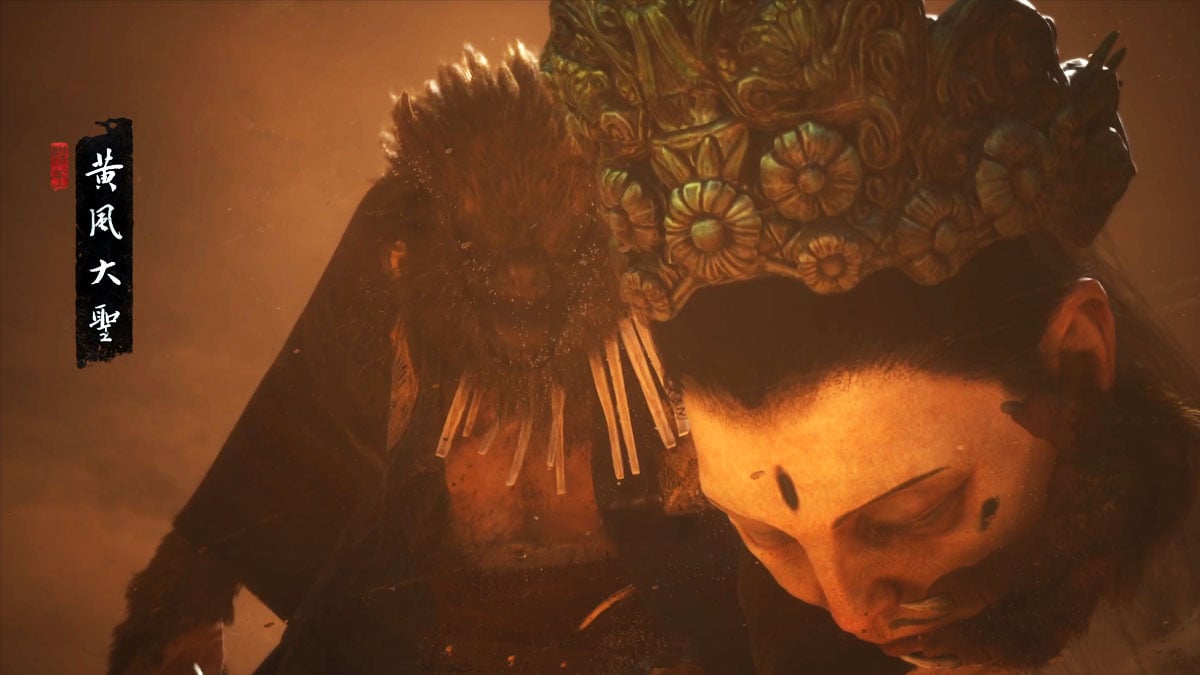
In the original Journey to the West lore, the Yellow Wind Sage was a marten who lived near the Buddha, literally stealing lamp oil before fleeing to the Yellow Wind Ridge. In the game, he’s evolved into something far more tragic and menacing. He’s a king without a kingdom, wielding a literal piece of a Buddha to keep his power intact. When you fight him, you aren't just fighting a martial artist. You are fighting the wind itself.
The Absolute Chaos of the Yellow Wind Sage Boss Fight
The first thing you’ll notice about the Yellow Wind Sage is that he doesn't care about your camera angle. He moves fast. Like, "did my frame rate just drop or did he just teleport?" fast. He uses a trident with reach that feels like it spans the entire arena. If you try to back off to heal, he just lunges.
Most bosses in Black Myth: Wukong have a rhythm. You dodge, you hit, you dodge. The Sage breaks that rhythm. He has these delayed swings that are designed specifically to catch you if you panic-roll. You see him wind up, you dodge early, and then—clunk—half your health bar is gone because he held the swing for an extra half-second. It’s mean. It’s also brilliant design.
Then comes the wind.
Once he hits his second phase, the arena becomes a nightmare. The visibility drops. He summons sandstorms that stagger you. If you don't have the right item, you are basically playing the game on "Impossible" mode. Many players spend hours banging their heads against this wall without realizing the game actually gave them a "win button" earlier in the chapter.
Why the Wind Tamer is Non-Negotiable
If you are trying to beat the Yellow Wind Sage without the Wind Tamer vessel, you are making a mistake. You can do it—people have done Level 1 runs already—but for the average person, it's a nightmare. The Wind Tamer is a secret item found at the end of the "Kingdom of Sahali" side quest.
To get it, you have to find the Drunken Boar. You give him a sobering stone, you find him again at the Temple, you give him a jade lotus, and eventually, you end up in a "hidden" version of the desert fighting a giant beetle called Fuban. It sounds like a lot of work. It is. But the reward is the only thing that makes the Sage’s final phase manageable.
When the Sage starts his "Fuban" summon—that giant gold bug that crushes the arena—or when he kicks up the massive sandstorm that makes him invisible, you pop the Wind Tamer. The wind stops. He gets stunned. For a few glorious seconds, he’s just a guy with a stick, and you can actually land a full Light Attack combo.
The Lore Most People Miss
There is a deep irony in the Yellow Wind Sage storyline that the game doesn't explicitly spell out in cutscenes. You have to read the Journal entries. The Sage actually helped the people of the region once. He helped kill a great beetle that was terrorizing the land. He was a hero.
But power corrupts. Especially stolen power.
The head he carries? That’s the head of Lingji Bodhisattva. He didn't just find it; he took it. This reflects the game's broader theme of "Mortal vs. Divine." The Sage is terrified of losing what he has, which is why he’s so aggressive. He’s not protecting the ridge; he’s hiding in it. When you hear him talk during the fight, he sounds arrogant, but there’s an undercurrent of desperation. He knows he’s a thief.
Breaking Down the Move Set
You have to watch his feet. Seriously.
- The Stomp: When he raises his leg, don't dodge immediately. Wait for the foot to actually move downward. The shockwave has a lingering hitbox.
- The Trident Charge: He’ll disappear into a cloud of sand and reappear lunging. You have to dodge into him, not away. If you dodge away, the tip of the trident will almost always catch you at the end of your animation.
- The Kick: It’s fast. It’s disrespectful. He usually follows it up with a heavy slam.
Many players rely too heavily on the Immobilize spell. Against the Yellow Wind Sage, Immobilize is tricky. If you use it while he’s in his wind-form or mid-teleport, it will fail, and you’ll waste the mana. Wait until he finishes a combo and is standing still for a fraction of a second. That’s your window.
Strategy for the Final 20%
The last bit of his health bar is the hardest. This is when he goes "Full Sandstorm." The camera will struggle to keep up. This is where most players die because they lose sight of the Sage and get hit by an off-screen projectile.
If your Wind Tamer is on cooldown, play defensively. Don't try to be the aggressor. Use the Cloud Step spell to turn invisible, reposition, and let your stamina recharge. A lot of people forget that Cloud Step leaves a decoy. The Sage will often waste his biggest, most dangerous "grab" move on your decoy, leaving him wide open for a Charged Heavy smash.
Also, check your curios. By this point, you should have access to items that increase your defense or your stamina recovery speed. Every little bit of "Wind Resistance" helps, though it won't save you from a direct trident hit.
Actionable Steps for Success
If you're stuck on the Yellow Wind Sage right now, stop throwing yourself at the boss for a minute and do these three things:
- Go back for the Wind Tamer: If you haven't finished the Drunken Boar questline, do it. The fight is 70% easier with the Vessel. It negates his most annoying phase entirely.
- Respec into Stamina: Go to a Keeper's Shrine and "Reignite the Sparks." Put more points into stamina and "Composure." The ability to keep your attack chain going even after a dodge is a literal life-saver in this fight.
- Watch the Sand: When the Sage disappears, look at the ground. You can see the "trail" of sand moving toward you. Dodge right before it reaches your feet to avoid the pop-up attack.
The Yellow Wind Sage is the first true "skill check" of Black Myth: Wukong. He forces you to use all the systems—vessels, spells, and patient dodging—rather than just button-mashing. Take a breath. Get the Vessel. Watch the feet. You’ve got this.
Once you take him down, make sure to read his full entry in the Portraits menu. It adds a layer of sorrow to the victory that makes the whole experience feel much more "human" than your average boss fight.