Yellow is a loud color. It’s the visual equivalent of a shout, and when you pair it with a pattern as iconic as the polka dot, you’re making a choice that demands attention. Most people think yellow polka dot nails are just a relic of the "Itsy Bitsy Teenie Weenie Yellow Polka Dot Bikini" era, but that’s honestly a pretty narrow view. In reality, we are seeing a huge resurgence of this look because it taps into the "dopamine dressing" trend that has taken over the beauty industry.
It’s bold. It’s sunny.
Sometimes, you just need your hands to look like a literal celebration. Whether you’re leaning into a vintage 1950s aesthetic or trying out the modern "lemonade" minimalist vibe, there is a lot more technical nuance to getting this right than just slapping some dots on a base coat.
Why Yellow Polka Dot Nails Are Dominating Feeds Right Now
The psychology of color is a real thing, not just some marketing buzzword. Pantone famously named "Illuminating" (a bright, cheery yellow) as one of its Colors of the Year recently, and the ripple effect in the nail industry is still being felt. Yellow represents optimism. When you look down at your keyboard and see bright yellow polka dot nails, it triggers a different neurological response than, say, a moody navy or a neutral beige.
We’re seeing celebrities like Hailey Bieber and Lizzo experiment with neons and patterns that break away from the "clean girl" aesthetic. While the "quiet luxury" trend pushed everyone toward sheer pinks, the pendulum is swinging back. People are bored. They want texture. They want contrast.
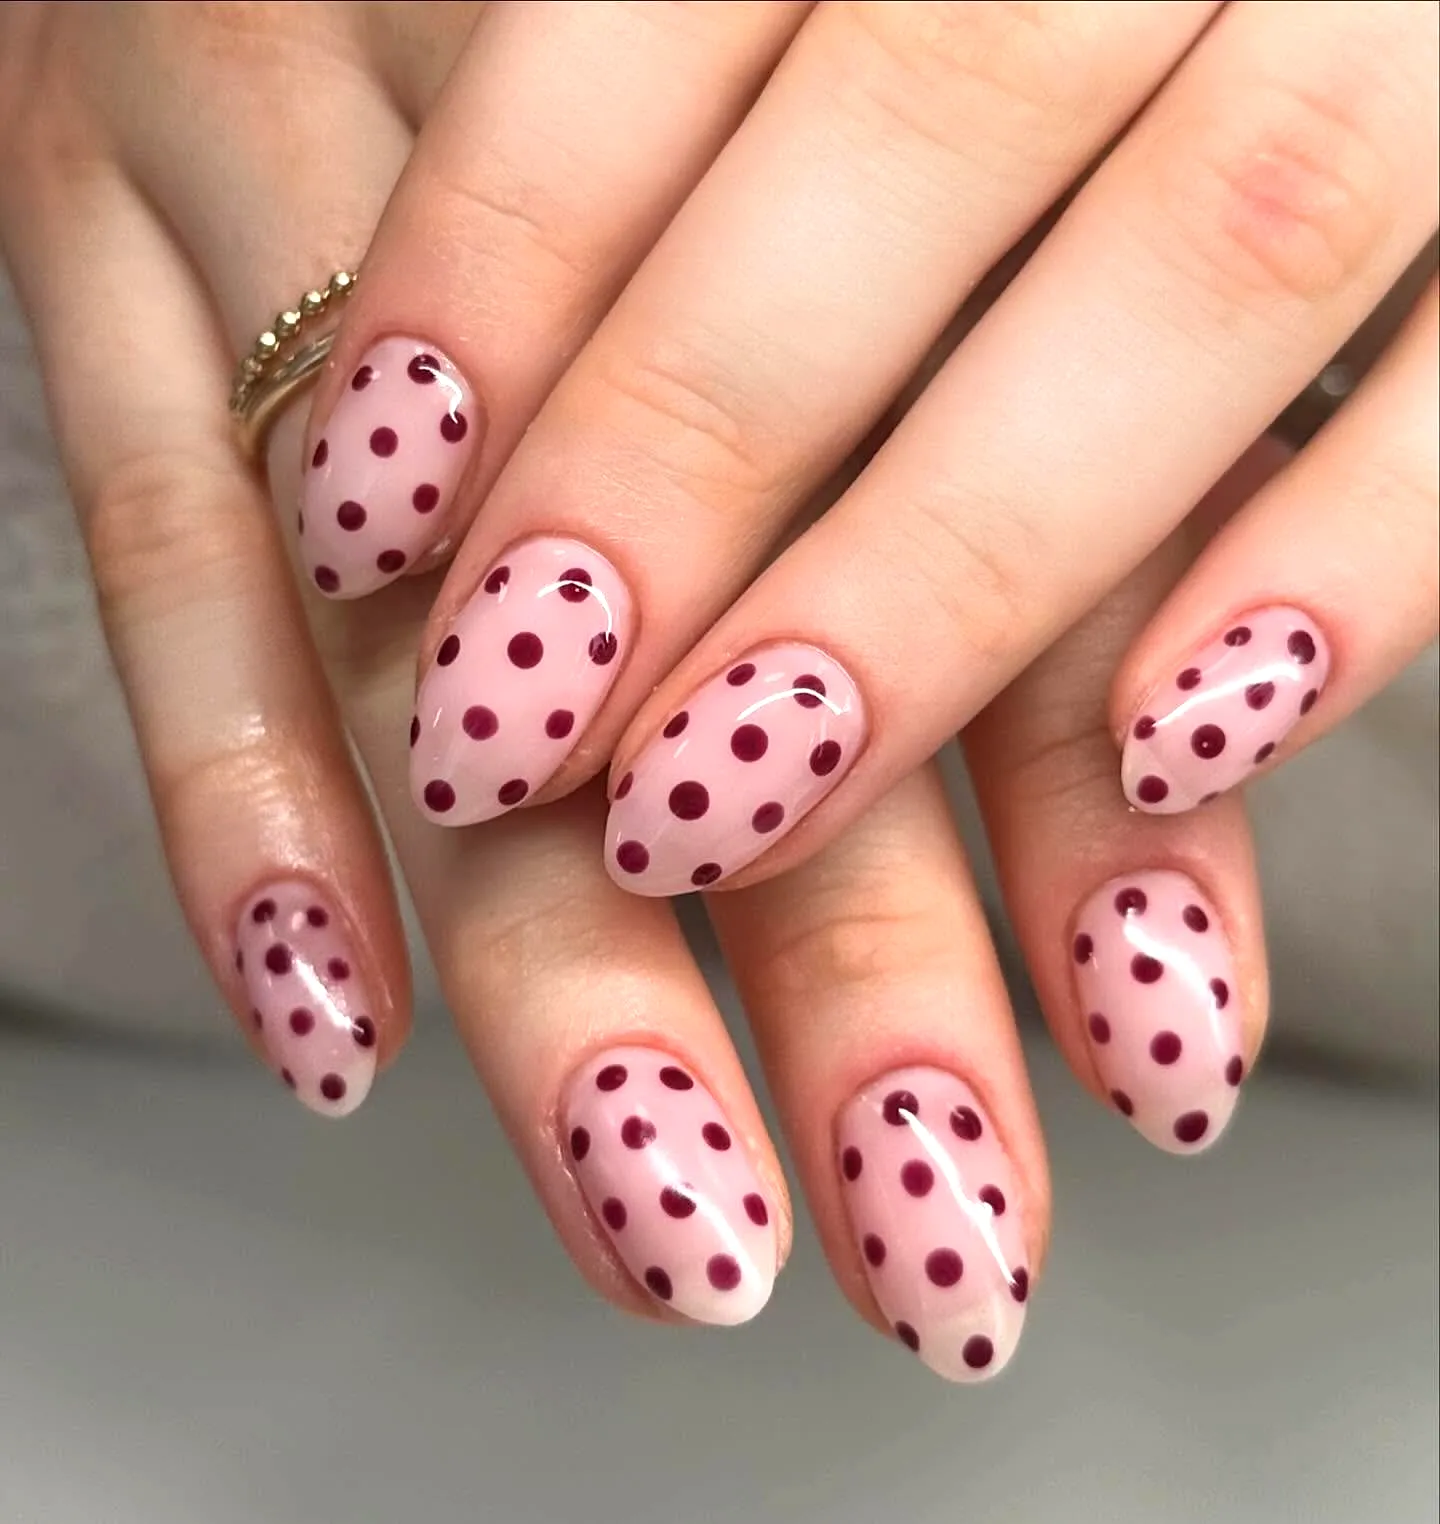
Polka dots are the perfect entry point for DIY enthusiasts because they don't require the steady hand of a fine-line artist. You don't need to be able to paint a realistic portrait of a cat on your pinky finger. You just need a dotting tool—or the end of a bobby pin if you’re scrappy—and a decent bottle of lacquer.
Choosing Your Shade: It’s Not Just "Yellow"
The biggest mistake people make? Picking the wrong undertone.
If you have a cool skin tone (think bluish veins), a bright, lemon yellow can sometimes make your hands look slightly washed out or even a bit sickly. You want to look for yellows that have a hint of green or are very "true" primary yellows. On the flip side, if you have warm or olive skin, you can absolutely rock those deep mustard tones or rich, buttery golds.
- Lemon Drop: High saturation, great for summer.
- Mustard Seed: Gritty, 70s vibe, works surprisingly well in autumn.
- Pastel Chiffon: Soft, approachable, and less "in your face."
Honestly, the base color is only half the battle. The color of the dots determines the entire "mood" of the manicure. White dots on a yellow base scream retro picnic. Black dots on yellow? Suddenly you’re giving off chic bumblebee or high-fashion vibes. If you’re feeling particularly brave, trying a transparent "jelly" yellow base with opaque white dots creates a 3D depth that looks incredible under natural sunlight.
The Technical Side of the Dot
Let’s talk tools. You can buy a professional 5-piece dotting tool set for under ten dollars, and it’s probably the best investment you’ll make for your nail kit. These tools have different sized metal balls at the ends.
If you use a toothpick, the tip is too sharp. You’ll end up with "splatter" instead of a crisp circle. A bobby pin is better because the rounded tip mimics a professional tool.
The secret to a perfect yellow polka dot nail is the "dip and dab" method. You don't want to drag the tool. You want to dip it into a small pool of polish—usually dropped onto a piece of aluminum foil—and touch it straight down onto the nail. Lift straight up. If you tilt it, you get an oval. Ovals are fine if that’s what you’re going for, but for that classic look, verticality is your best friend.
Managing the Dry Time
Yellow pigment is notoriously difficult to formulate. Ask any nail tech; yellow is often the "streakiest" color in any brand's lineup. This is because the chemical structure of yellow pigments often requires more thinning agents.
To avoid a mess, you have to let your base yellow coat dry completely. I mean completely. If the base is even slightly tacky, the dotting tool will drag the base color up into the dot, creating a muddy, swirled effect that looks like a middle-school art project gone wrong. Give it at least ten minutes. Use a quick-dry top coat over the base color before you even start the dots if you’re impatient.
Design Variations You Haven't Considered
Most people just think of a standard grid of dots. That’s fine, but it’s a bit predictable.
Try a "gradient dot" look. Start with large dots at the cuticle and make them progressively smaller as you move toward the tip. This creates a sense of movement. Or, go for the "accent nail" approach where four fingers are solid yellow and only the ring finger features the polka dots. This keeps the look from feeling too costume-like if you’re heading into a professional environment.
Another high-fashion take is the negative space polka dot. You leave the nail bare (or with a sheer nude base) and use yellow to create the dots. It’s subtle, modern, and grows out much better than a full-color manicure. You won't see that awkward gap at the cuticle after a week.
Avoiding the "Clown" Effect
There is a fine line between "art-forward fashionista" and "children's birthday entertainer." The key to staying on the right side of that line is the finish.
A matte top coat changes everything.
If you take a bright yellow polka dot design and hit it with a matte finish, it suddenly looks like high-end stationery or a custom textile. It kills the "plastic" look that sometimes comes with high-shine yellow polishes. Also, keep your nail shape in mind. Short, squared-off nails handle busy patterns like polka dots very well. If you have extremely long stiletto nails, a dense polka dot pattern can look a bit overwhelming—in that case, larger, more sparse dots usually look more intentional and sophisticated.
Common Mistakes to Dodge
Don't overload the tool. If you have a giant glob of polish on your dotting tool, the dot will be raised. It’ll look like a tiny mountain on your nail. While textured art is a thing, usually you want a smooth surface so your top coat can level everything out.
Also, watch your spacing.
Humans are naturally bad at perfect symmetry. If you try to make them perfectly even, you’ll fail, and the brain will pick up on the slight errors. It’s actually better to go for a "scattered" look. Place them randomly. It feels more organic and less like you tried and failed to replicate a machine-printed fabric.
Essential Tools for Success
If you're serious about nailing this look, you need more than just polish.
- A high-quality white or black polish: It needs to be a "one-coat" polish. If the polish is too sheer, the yellow base will show through the dots.
- Silicone Mat: Great for practicing your dotting pressure before you touch your actual nail.
- Acetone and a cleanup brush: Yellow is a "stainer." If you get it on your cuticles, it can leave a yellowish tint even after you wipe it off. Clean as you go.
Real-World Inspiration
Look at the work of nail artists like Betina Goldstein. She is the master of "minimalist maximalism." While she often works with nudes, her approach to placement is exactly what you should study for yellow polka dot nails. She uses the "less is more" philosophy, often placing just three or four perfectly positioned dots on a nail to create a high-impact look that doesn't feel cluttered.
On the other hand, if you want something loud, look at Japanese nail art magazines. They often combine yellow dots with other elements like 3D charms or tiny floral decals. It’s a completely different vibe, much more "Kawaii," but it shows the versatility of the pattern.
Actionable Steps for Your Next Manicure
To get the best results with yellow polka dot nails, follow these specific steps rather than winging it.
- Prep the canvas: Use a ridge-filling base coat. Yellow shows every bump and imperfection on the nail plate.
- The Two-Coat Rule: Apply two thin coats of yellow rather than one thick one. This prevents bubbling, which is common with yellow pigments.
- The Anchor Dot: Start your pattern by placing one dot in the center of the nail. Use that as your visual anchor to place the other dots around it.
- Seal the Deal: Wait at least 15 minutes before applying your final top coat. If the dots are still wet, the top coat brush will "streak" the dots, creating little tails that look like comets.
- Maintenance: Yellow can fade or "brown" under UV light (like sunlamps or even heavy sun exposure). Use a top coat with UV inhibitors to keep the yellow crisp and bright for the full duration of your wear.
If you’re worried about the color being too "young," try a "mismatched" palette. Use a different shade of yellow on each finger—from pale cream to deep amber—and then apply uniform white polka dots across all of them. It ties the look together while looking incredibly sophisticated and intentional. This isn't just a trend for the summer; with the right shade of mustard or ochre, it's a look that carries through the entire year.