You've probably seen those TikTok videos where someone smears bright orange or neon green paint all over their face before applying foundation. It looks chaotic. But there is a logic to the madness, specifically when it comes to yellow color corrector makeup. Most people assume they need a heavy concealer to hide dark circles, but honestly, that usually leads to a cakey, gray mess that settles into fine lines before you've even finished your morning coffee.
Color correction is basically just color theory applied to skin. If you look at a standard color wheel—the kind you used in elementary school art class—colors that sit opposite each other cancel each other out. Yellow sits right across from purple. This means if your under-eye circles have a bruised, violet, or deep plum tint, yellow is your best friend. It’s a subtle shift, but it makes a massive difference in how much foundation you actually have to wear.
Why yellow color corrector makeup works (and when it doesn't)
Purple tones are stubborn. If you just slap a beige concealer over a purple-toned bruise or dark circle, the purple often "peeks" through the pigment, creating a muddy, ashy tone. This is why your makeup looks great in the bathroom mirror but looks "off" once you step into natural sunlight. Yellow neutralizes that purple. It brings the skin back to a neutral baseline so your skin-tone products can actually do their job.
But here is the catch. If your dark circles are more blue or teal, yellow won't help you much. You’d need a peach or orange corrector for that. Using yellow on blue-toned veins can sometimes make the skin look slightly green or sallow. You have to look really closely at your skin in natural light. Is it purple? Is it violet? If yes, yellow is the play.
It's also killer for mild redness. While green is the standard for "angry" red acne or rosacea, yellow is better for general flushing or pinkness. It’s softer. It looks more like skin.
The formula matters more than you think
Don't just grab the first yellow pot you see at Sephora or CVS. The texture of yellow color corrector makeup determines whether you look flawless or like you're wearing a mask.
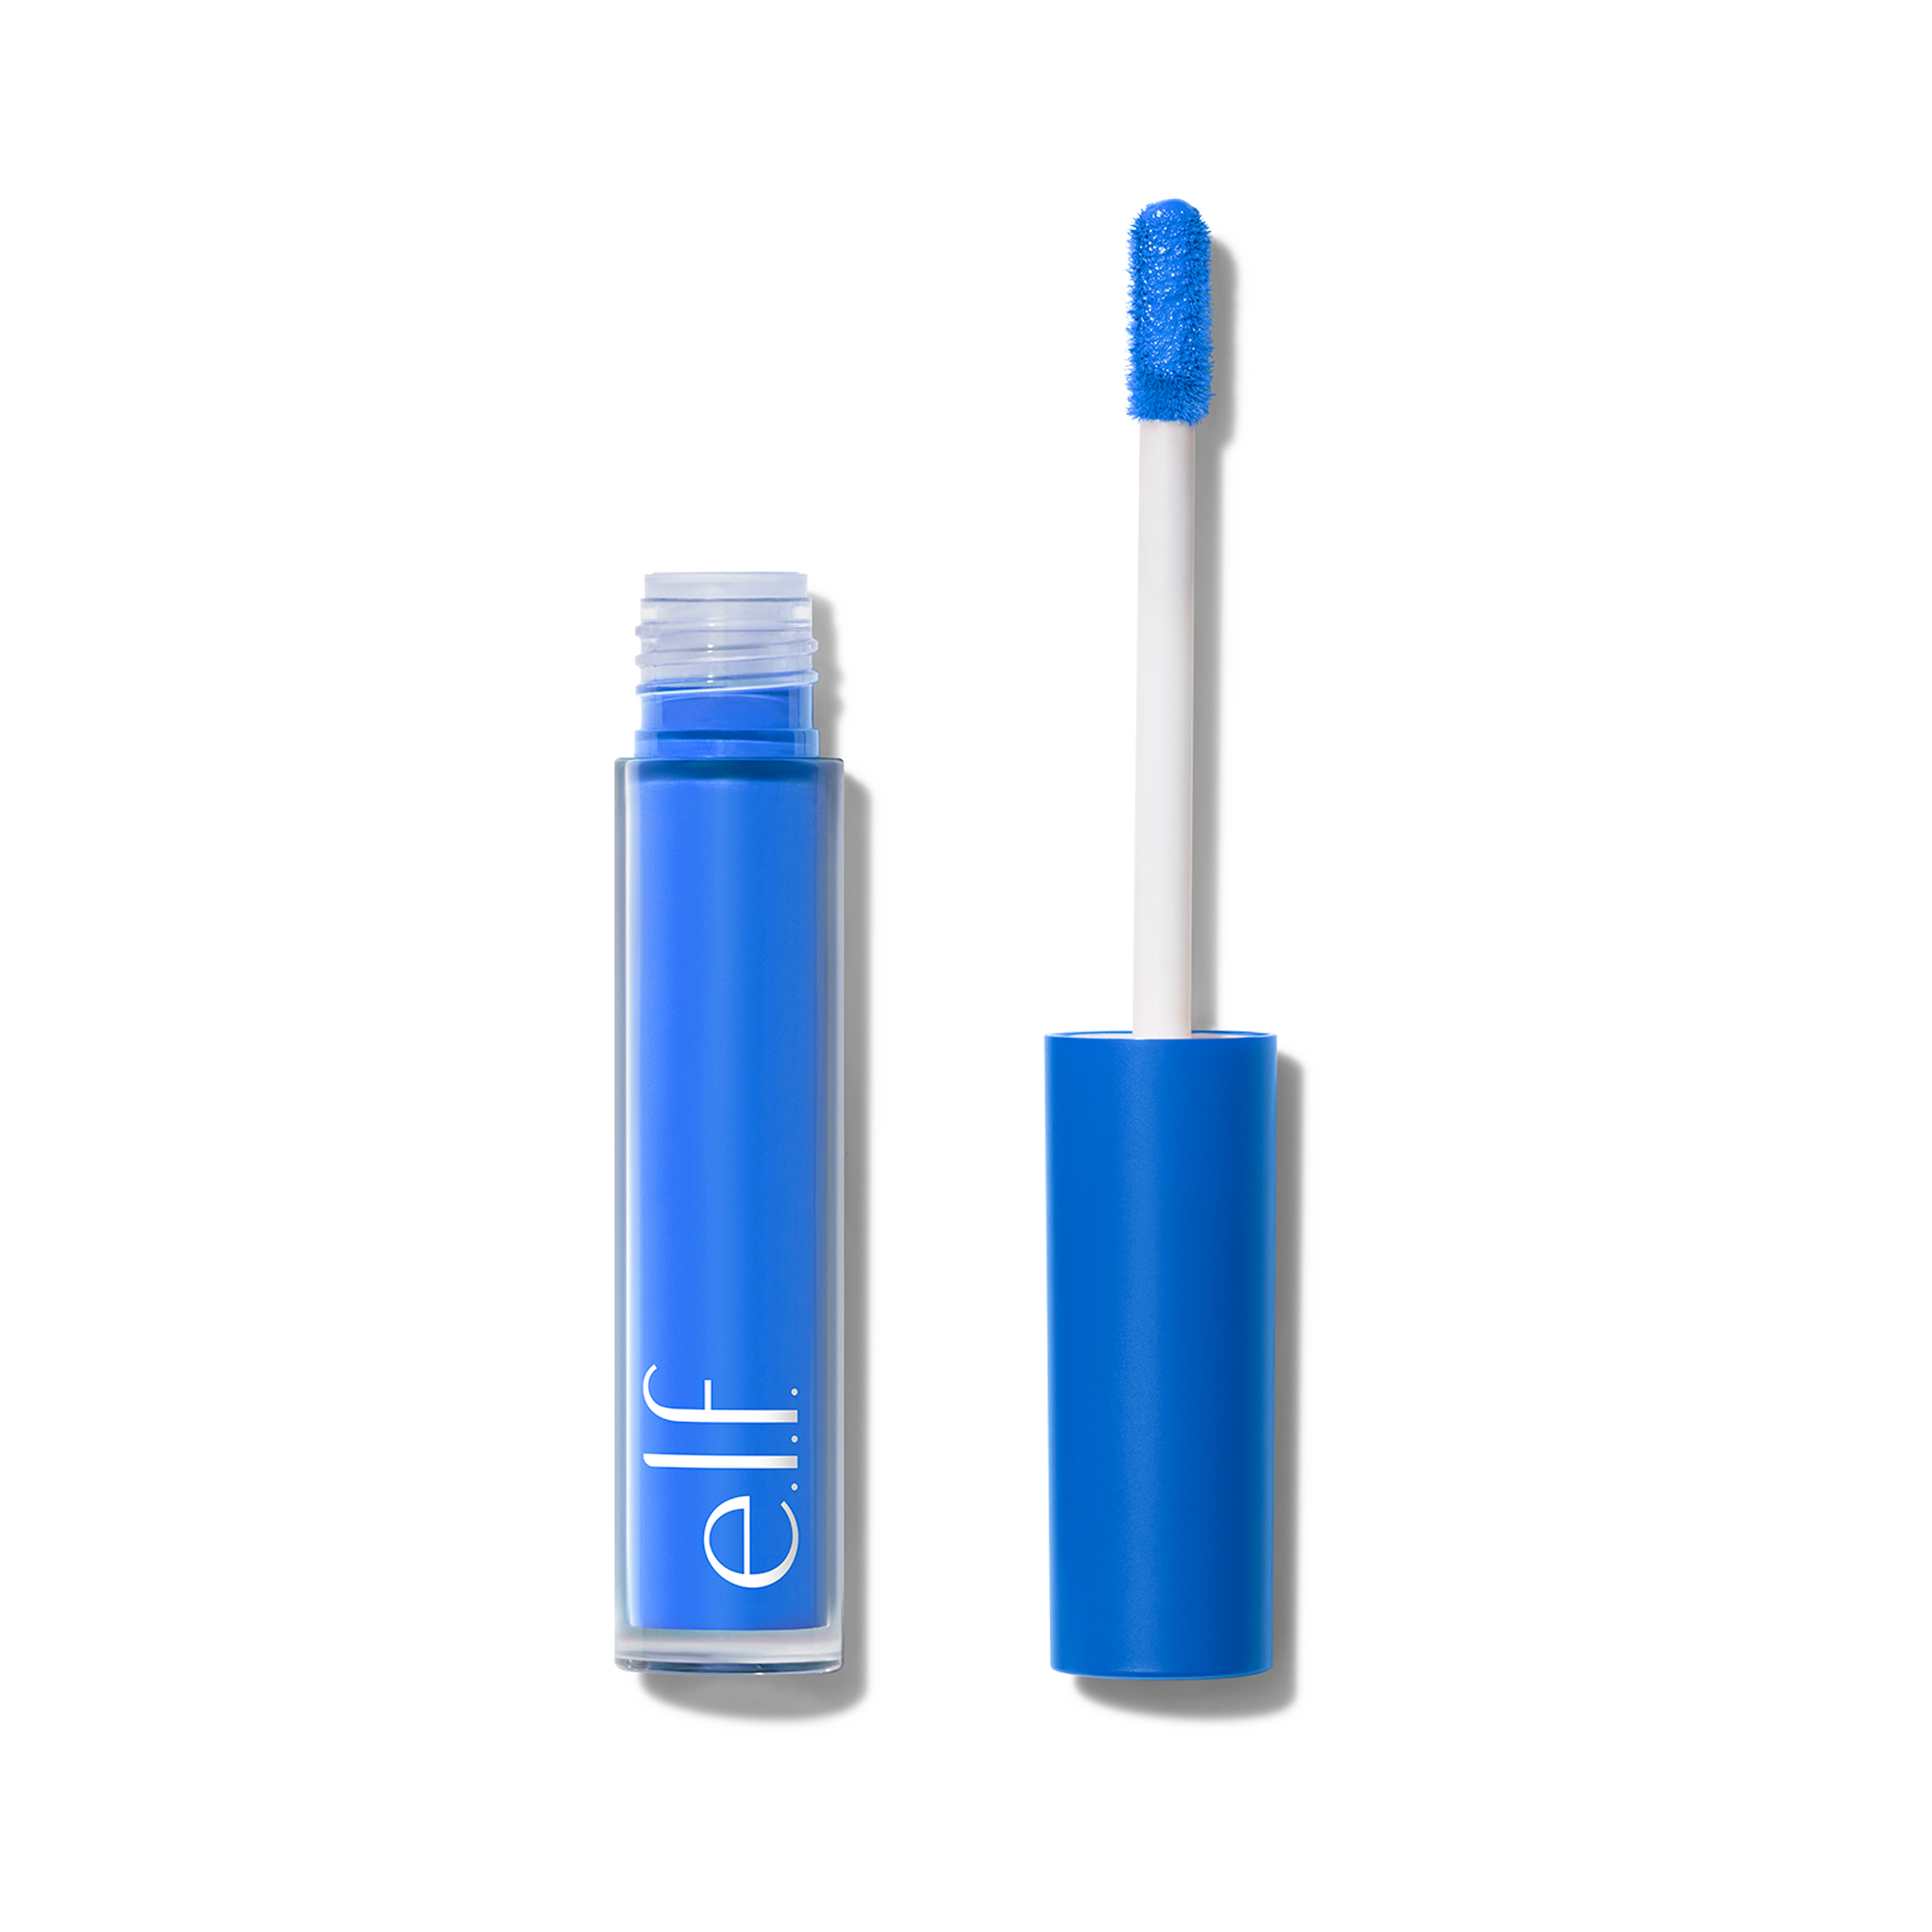
Liquid Correctors: These are generally the easiest for beginners. Brands like NARS (their Radiant Creamy Color Corrector line) or L.A. Girl (the Pro.Conceal) offer liquids that blend out effortlessly. They’re thin. They don't pile up. If you have dry skin or visible texture under your eyes, stay in the liquid lane.
Cream Correctors: These come in pots or palettes. They have a much higher pigment load. Bobbi Brown is famous for these. They are great if you have very intense discoloration, but you have to warm them up between your fingers first. If you apply a cold cream corrector directly to your face, it's going to skip and drag.
Powder Correctors: Usually sold as "banana powders." Ben Nye became a household name because of the Banana Powder used on Kim Kardashian years ago. These are best for setting the under-eye area and providing a final "brightening" boost. It’s less about correction and more about the finishing touch.
How to apply it without looking like a lemon
The biggest mistake is using too much. You aren't painting a wall; you're tinting the skin.
Start with a tiny dot. Use your ring finger—it has the lightest touch—and tap the yellow corrector only on the darkest, most purple areas. Don't spread it all over your face. You want to keep the pigment concentrated where the "problem" is. If you blend it too far out onto "normal" skin, you'll just end up with a yellow patch that you have to hide later.
Once it's tapped in, let it sit for about 30 seconds. This is a pro trick. Letting the corrector "set" slightly prevents it from mixing with your foundation. If you apply foundation immediately over wet corrector, they just blend together into a weird, pale yellow-beige soup. You want layers, not a mix.
Real-world results and expert insights
Makeup artists like Sir John (who famously works with Beyoncé) often emphasize that less is more with color correction. In various industry interviews, he has noted that the goal of a corrector is to allow you to use a lighter, more breathable foundation. If you correct properly, you don't need a "full coverage" spackle. You can use a tinted moisturizer or a light serum foundation because the underlying "shadow" is already gone.
There is also the "Banana Powder" phenomenon to consider. It’s a pale yellow powder that works on a huge range of skin tones. On fair skin, it brightens. On tan or olive skin, it creates a golden glow. However, if you are very deep-toned, yellow might look a bit chalky. In those cases, a "mustard" or "saffron" corrector is often more effective than a pale lemon yellow.
Common misconceptions about yellow tones
A lot of people think yellow is just for fair skin. That's just not true. Yellow is a staple for olive skin tones because olive skin naturally has a lot of green and yellow in it. Using a yellow corrector helps unify the complexion without making it look "pink," which is a common problem when olive-skinned people use standard "cool-toned" concealers.
Another myth? That you can use a yellow eyeshadow. Please don't do this. Eyeshadows are formulated with different binders and pigments that aren't meant to sit under foundation. They will crease. They will oxidize (turn a different color when they hit the air). Stick to products specifically labeled as yellow color corrector makeup.
The nuance of skin undertones
When you’re standing in the makeup aisle, you’ll see "Pale Yellow," "Bright Yellow," and "Deep Yellow."
- Pale/Pastel Yellow: Best for fair to light skin. It mimics the natural highlights of the face.
- Lemon Yellow: The "standard" corrector. Good for medium skin tones with purple shadows.
- Deep Saffron/Mustard: Necessary for deep skin tones. A light yellow will look like a ghost on dark skin, but a rich, warm yellow provides an incredible "lit-from-within" effect.
It's all about saturation. The darker your skin, the more saturated your yellow needs to be.
Practical next steps for your routine
If you’re ready to try this out, don't go buy an expensive 12-color palette. You’ll only use two of the colors anyway. Buy a single, high-quality liquid or cream yellow corrector.
Test it on a Saturday when you aren't in a rush to get to work. Apply your moisturizer, let it sink in, and then try the "dot and dab" method on your under-eyes. Cover it with just a tiny bit of your usual concealer. Look at yourself in a mirror near a window.
If your eyes look brighter and you look like you actually slept eight hours, you’ve nailed it. If it looks heavy, you used too much product. Adjust the ratio next time. Most people find that once they start using a yellow corrector, they can cut their concealer usage in half. That alone is worth the extra thirty seconds in the chair.
Focus on the inner corners of the eyes. That’s usually where the deepest purple resides. A little yellow there, a bit of blending toward the center of the eye, and you’re basically a new person. No "landscape" of products required—just one smart color choice.
Next Steps for Mastery:
- Check your lighting: Always evaluate your under-eye color in natural daylight to confirm if the undertone is truly purple (yellow corrector) or blue (peach corrector).
- Product Selection: If you have oily skin, opt for a matte liquid like the Exa High Fidelity Semi-Satin Color Corrector. For dry skin, the DragunBeauty DragunFire yellow is highly pigmented and creamy.
- Application Order: Always apply corrector after primer but before foundation/concealer. This ensures the correction stays "locked" against the skin.
- Setting: Use a translucent powder to set the area if you have fine lines, or a yellow-tinted "banana" powder if you want maximum brightness for photography or events.