Ever tried to snap a photo of a Clouded Sulphur? It’s basically impossible. You see that shocking flash of lemon-yellow dancing over a clover field, grab your phone, and by the time the camera app actually opens, the bug is three zip codes away. Or worse, you actually catch it, but the photo looks like a blurry banana peel floating in a sea of green. Honestly, getting great pictures of yellow butterflies is a specialized nightmare that most casual hikers underestimate.
Yellow is a tricky color for digital sensors. It blows out. It loses detail. If the sun is too bright, your beautiful Tiger Swallowtail looks like a glowing neon triangle with no soul.
The Frustrating Science of Yellow Butterfly Pictures
Most people think a butterfly is just a butterfly, but if you’re trying to catalog them through a lens, you’re dealing with physics. Butterflies like the Eastern Tiger Swallowtail (Papilio glaucus) have these intricate black tiger-stripes that provide contrast, making them easier to photograph. But then you have the Little Yellow (Pyrisitia lisa) or the Cloudless Sulphur (Phoebis sennae). These guys are almost purely monochromatic. When the sun hits those wings, the light bounces back so intensely that your camera's auto-exposure just panics.
It’s about the scales.
Butterfly wings aren't painted; they’re covered in thousands of microscopic scales that reflect light. In yellow species, these scales often contain pterins, which are pigments that give them that "high-visibility vest" look. If you want a photo that doesn't look like a grainy mess, you have to underexpose. Deliberately. Dial that exposure compensation down to -1.0 or -1.5. It feels wrong. The screen will look dark. But trust me, it’s the only way to keep the texture of the wing veins from disappearing into a white blob of overexposed light.
Why Everyone Misidentifies the Cabbage White
Here’s a fun fact that bugs (pun intended) lepidopterists: a huge chunk of "yellow butterfly" photos on social media aren't even of yellow butterflies. They’re Cabbage Whites (Pieris rapae).
Under certain lighting, especially during the "golden hour" before sunset, a white butterfly reflects the amber tones of the sun. Suddenly, everyone thinks they’ve found a rare sulfur species. If you’re looking at your photos and trying to figure out what you saw, look at the wing tips. The Cabbage White has distinct black spots, but the wing base is fundamentally creamy-white.
True yellow butterflies, like the Western Tiger Swallowtail, have that pigment baked into their biology. It doesn't wash off in the shade.
The Gear Reality Check
You don't need a $4,000 macro lens. You really don't.
I’ve seen incredible pictures of yellow butterflies taken on a base-model iPhone just because the person knew how to use a physical shadow. If you can position yourself so your own shadow falls near the butterfly without spooking it, you reduce the harsh glare on the wings.
But if you are using a DSLR or mirrorless setup, stop using a tripod. It’s too slow. Butterflies are erratic. They use a flight pattern called "low-amplitude stochastic movement." Basically, they fly like they’re drunk so birds can’t predict where they’ll be next. You shouldn't try to predict them either. Use a high shutter speed—1/1000th of a second at minimum—and go handheld.
Where the Best Shots Actually Happen
Don't go to a flower garden.
I mean, you can, but you’ll just get the same photos everyone else has. If you want something that looks professional, look for "puddling." This is a weird behavior where male butterflies congregate on wet mud or damp gravel to suck up minerals and salts. They need these nutrients for reproduction.
When they’re puddling, they’re distracted.
You can get remarkably close. I once spent forty minutes sitting in a damp driveway in North Carolina surrounded by about twenty Cloudless Sulphurs. They didn't care I was there. Because they were stationary, I could drop my aperture to $f/8$ or $f/11$, which kept the entire wing in focus. Usually, if you’re too close, the tip of the wing is sharp but the body is a blur. Puddling solves that.
Common Mistakes When Editing Yellow Tones
So you got the shot. Now you’re in Lightroom or your phone’s editing app. The first instinct is to crank the saturation.
Don't do it.
Yellow is the first color to "break" in a digital file. Instead of saturation, play with the "Luminance" slider in the HSL (Hue, Saturation, Luminance) panel. By lowering the luminance of the yellow channel, you make the color deeper and richer without making it look like a radioactive cartoon.
- Check the whites: If the butterfly has white spots, ensure they aren't turning yellow from your edits.
- Background contrast: Yellow pops best against purple or deep green. If the background is too straw-colored, the butterfly gets lost.
- Sharpening: Only sharpen the eyes and the wing edges. Over-sharpening the flat parts of the wing creates digital noise that looks like dirt.
The Ethical Side of the Lens
There’s this trend of "chilled" butterfly photography where people catch them and put them in a fridge for a few minutes to slow their metabolism so they stay still for pictures.
Don't be that person.
It can damage their wings and makes them sitting ducks for predators once you release them. The best pictures of yellow butterflies are the ones where the animal is actually doing something—nectaring, mating, or just basking in the sun. If you can't get the shot naturally, you don't deserve the shot. It’s that simple.
Specific Species to Look For
If you’re in North America, you’re likely seeing one of these four:
- Clouded Sulphur: Small, bright, very fast. They love clover.
- Eastern Tiger Swallowtail: Huge. Yellow with black stripes. They’re the "supermodels" of the butterfly world.
- Orange Sulphur: Despite the name, they often look pale yellow. Look for a tiny silver spot on the underside of the hindwing.
- Sleepy Orange: These have a more burnt-orange/yellow hue and a very jagged wing shape.
Each one requires a different approach. The Swallowtails are heavy and move slowly between flowers, making them great for beginners. The Sulphurs are nervous. They rarely sit still for more than three seconds. For those, you have to "zone focus"—set your focus to a specific distance, wait for the butterfly to fly into that zone, and fire off a burst of shots.
Beyond the Static Image
We see so many photos of these creatures, but we rarely see the texture. If you look at high-resolution pictures of yellow butterflies, you’ll notice the "hairs" on their thorax. It’s actually specialized scales that look like fur. These help the butterfly regulate heat.
Because yellow is a light color, these butterflies can overheat easily in direct noon sun. That’s why you’ll often see them with their wings closed or tilted at an angle. Capture that angle. It tells a much more interesting story than a flat, top-down "specimen" shot.
Actionable Steps for Your Next Outing
To move from amateur snapshots to gallery-quality butterfly photography, change your timing. Most people go out at noon when it's sunny. That’s the worst time. The shadows are harsh and the butterflies are hyper-active because they’re warm.
Try going out at 7:30 AM.
Butterflies are ectothermic; they need the sun to warm their muscles before they can fly. In the early morning, you’ll find them clinging to tall grass, waiting for the dew to dry. They are literally stuck there. You can get inches away. The light is soft, the yellow tones are creamy, and the butterfly won't move.
Next Steps for Better Butterfly Photography:
- Switch to Manual Focus: Autofocus often grabs the flower petals instead of the butterfly's eye.
- Use a Diffuser: A small, portable white umbrella or even a piece of white silk can soften harsh midday sun.
- Learn the Plants: If you find a patch of Joe-Pye Weed or Milkweed, stay there. Don't chase the butterflies; let them come to the food source.
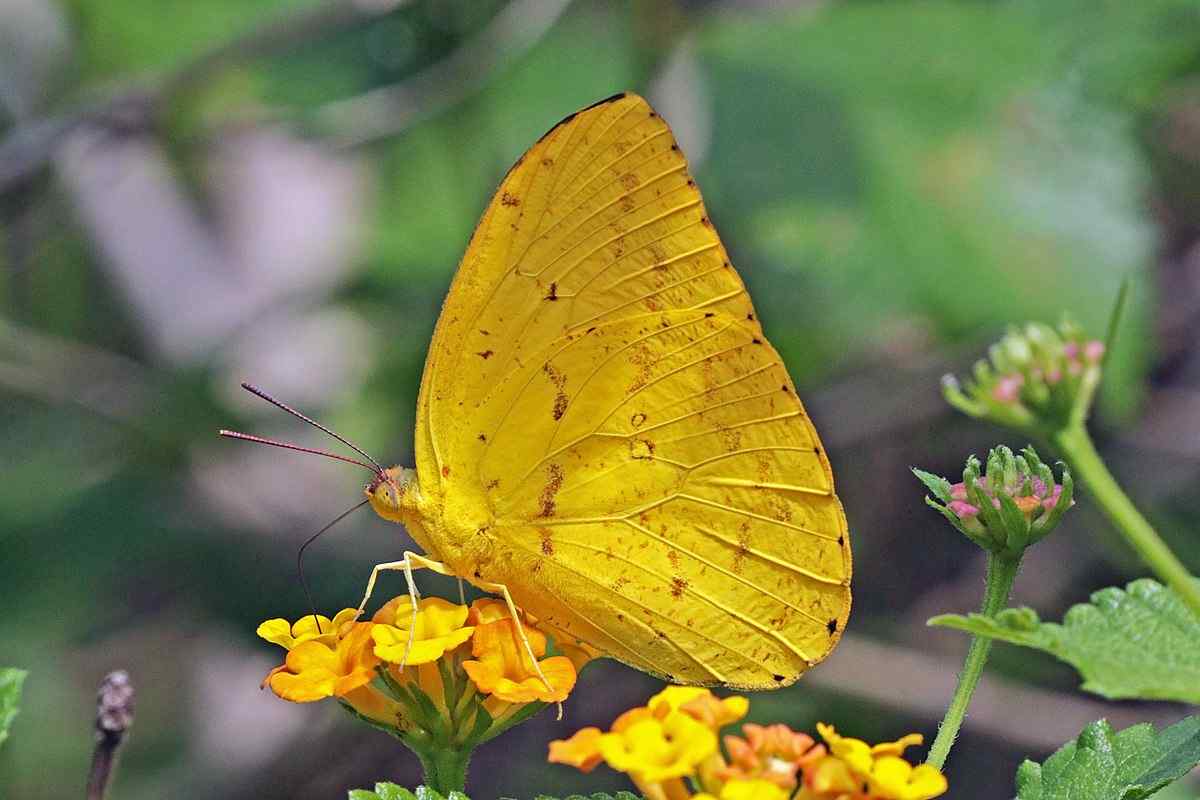
- Study the Underside: Some of the most beautiful yellow butterfly pictures are taken from below, showing the intricate "marbling" on the bottom of the wings which is often a completely different pattern than the top.
The reality is that a great photo of a yellow butterfly isn't about the camera. It’s about patience and understanding how light interacts with a very specific, very reflective biological surface. Stop chasing and start observing. You'll find that the best shots happen when you're sitting still, underexposing your sensor, and waiting for the sun to hit those pterin-loaded scales at just the right angle.