You’ve probably seen the Pinterest boards. Pristine stone circles, glowing embers, and people in expensive flannel laughing over perfectly toasted marshmallows. It looks effortless. But honestly? Most DIY yard fire pit ideas end up being smoky, uncomfortable disasters because people prioritize aesthetics over how smoke actually moves. If you build it wrong, you aren't relaxing; you're playing a high-stakes game of musical chairs to avoid a face full of soot.
Fire is primal.
It’s also incredibly stubborn. Most homeowners head to a big-box store, grab a $150 steel bowl, and call it a day. Then they wonder why the grass is dead, the metal is rusting after one rainstorm, and the neighbors are complaining about the haze. We need to talk about what actually works in a real backyard, not just what looks good in a filtered photo.
The Airflow Problem Nobody Mentions
Air is the secret ingredient. You think you need wood, but you actually need oxygen. If your fire pit is a solid "well" with no intake at the bottom, you're creating a low-oxygen environment. This leads to incomplete combustion. In plain English: it gets smoky as hell.
The best yard fire pit ideas involve some kind of "secondary combustion" or at least strategic venting. Take the Breeo or Solo Stove designs as a prime example. They use a double-wall system. Air pulls in through the bottom, heats up between the walls, and shoots out the top holes to burn off the smoke before it ever hits your eyes. It’s physics, basically. If you’re building a permanent masonry pit, don't just stack bricks in a solid circle. Leave "weep holes" or small gaps in the first layer of stones. This allows the fire to breathe from the base. Without those gaps, you’re just making a giant charcoal grill that won't stay lit.
Natural Stone vs. Pre-Cast Kits
I’ve seen a lot of people go for the "kit" approach from Home Depot. It’s fine. It’s easy. But it lacks character. If you want something that feels like it belongs in the landscape, look toward Pennsylvania Bluestone or local fieldstone. There is a weight to real stone that concrete mimics can't touch.
However, there is a massive safety warning here that people ignore: never use river rocks.
Seriously. Don't do it. River rocks are porous and hold moisture deep inside. When that water turns to steam inside a hot fire pit, the pressure has nowhere to go. The rock can literally explode. Stick to fire-rated bricks (firebricks) for the inner lining of your pit, then use whatever decorative stone you want for the exterior. It’s a bit more work. It’s a lot more expensive. But it keeps your guests from getting hit by flying granite shards.
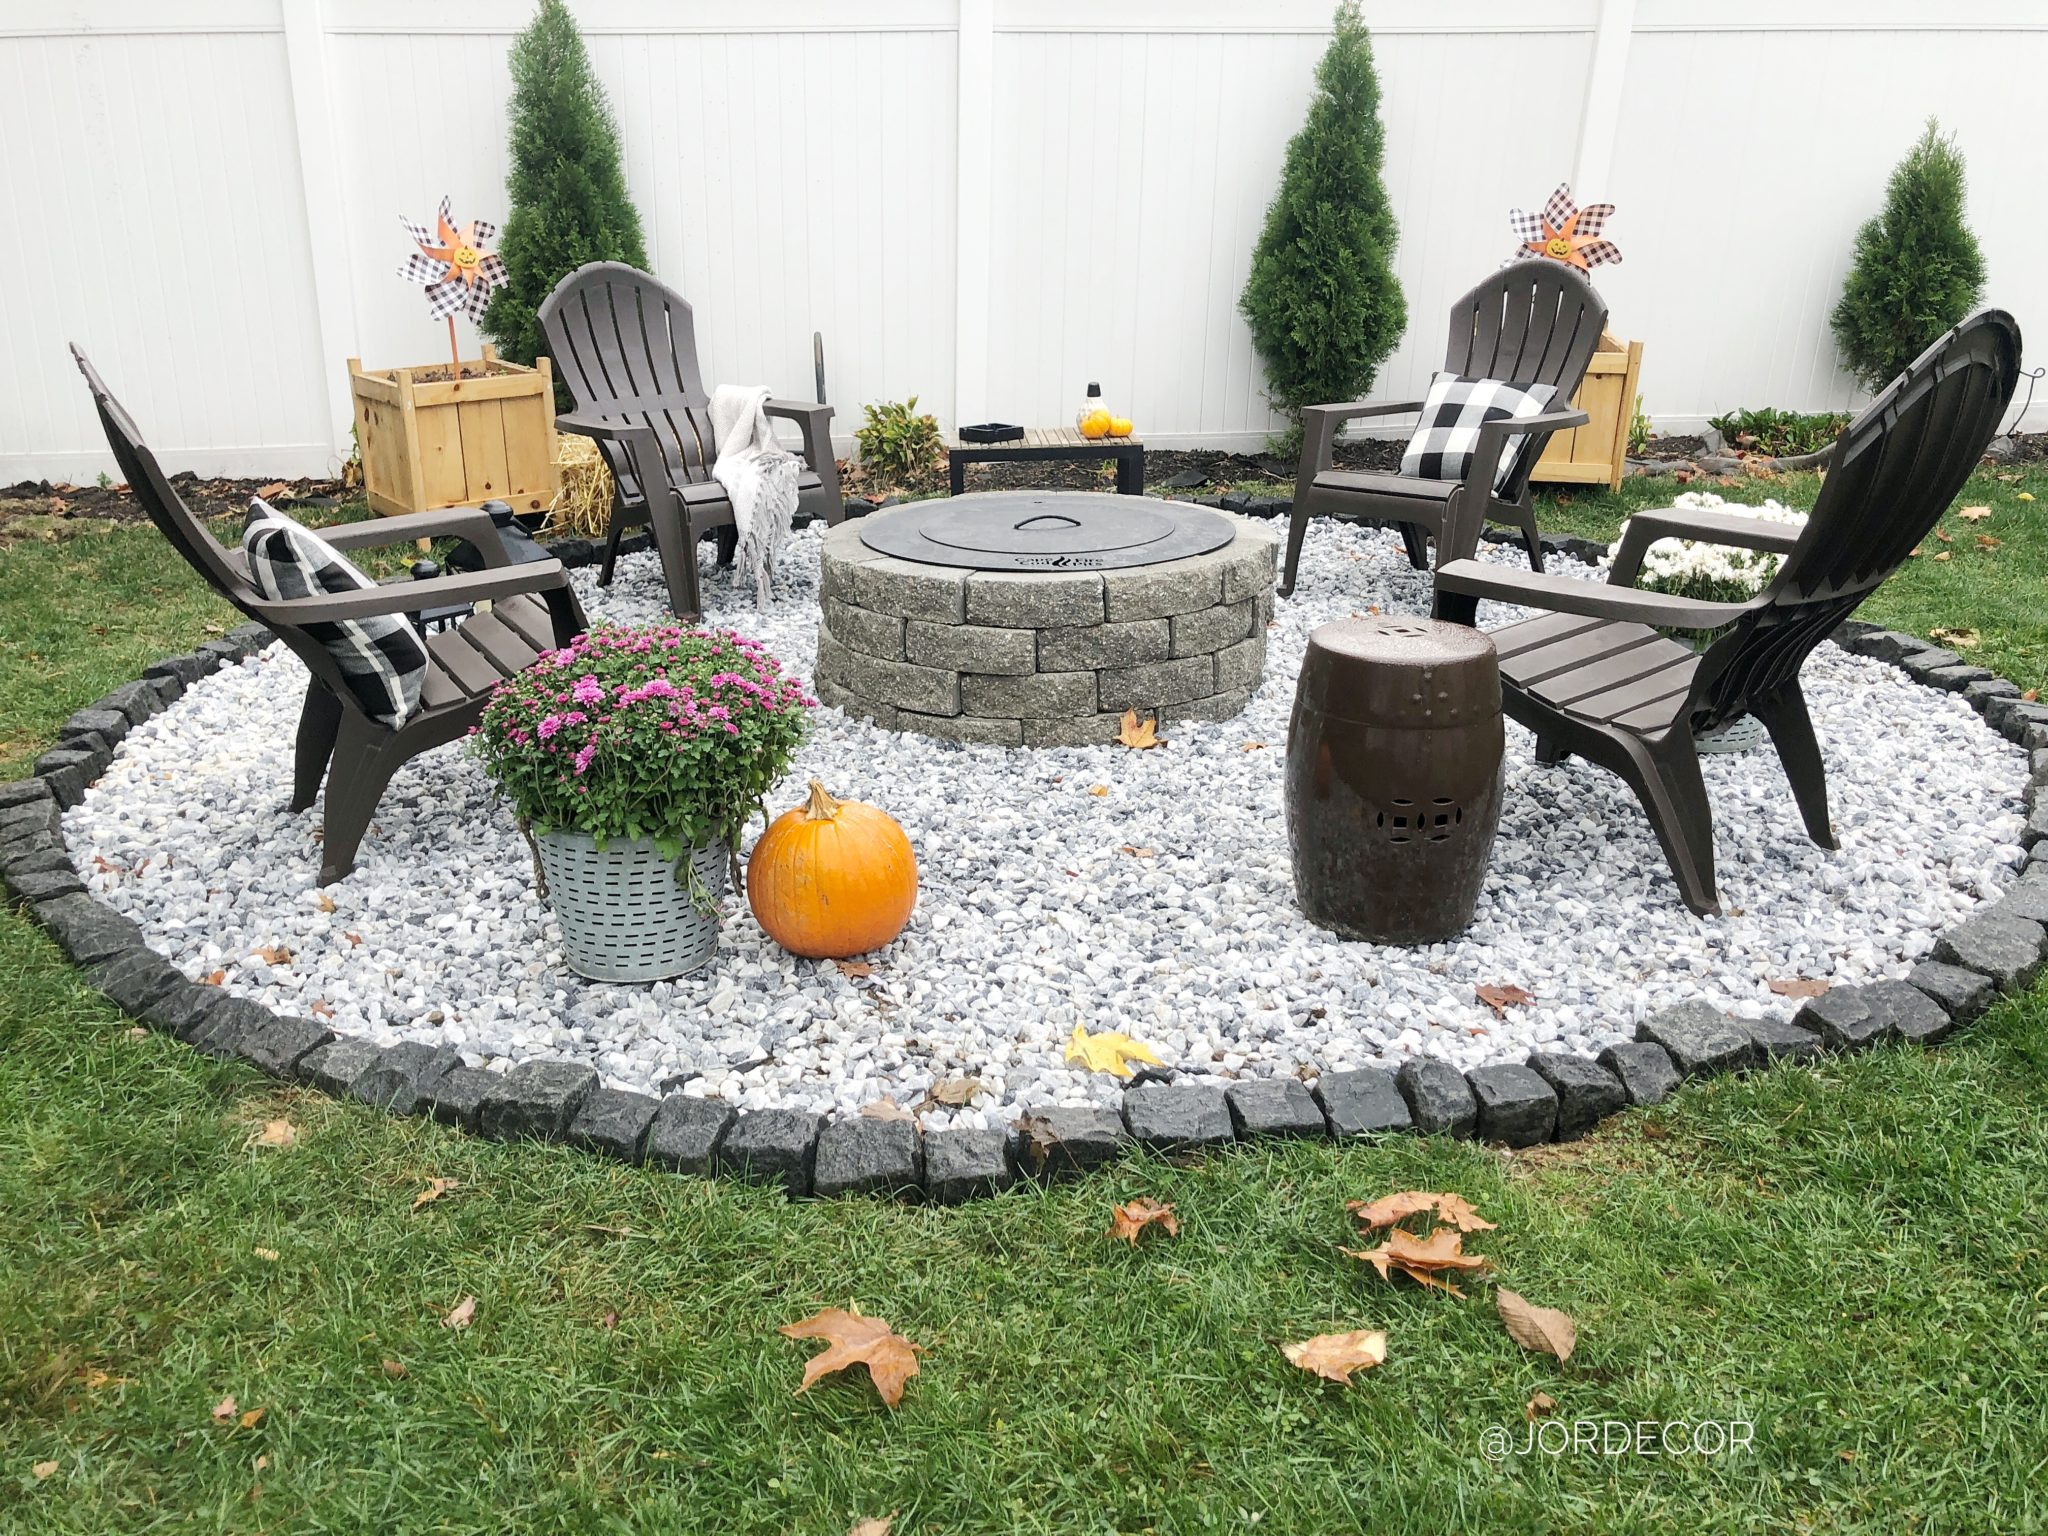
Strategic Placement and the "Four-Foot Rule"
Where you put the thing matters more than the thing itself. I once saw a guy build a beautiful stone pit directly under a low-hanging oak limb. One season later, the tree was half-dead from the rising heat.
You need clearance.
Generally, you want 10 to 20 feet of distance from any structure, including your house, shed, or those trendy wooden fences. But the real pro tip is the seating clearance. You need at least four feet of "dead space" between the edge of the fire and the start of your chairs. This allows people to push their chairs back when it gets too hot without falling off the edge of the patio or into a rose bush.
The Sunken Pit Aesthetic
There is something incredibly cozy about a sunken fire pit. It creates an outdoor room feel. It blocks the wind. It feels private.
But drainage is a nightmare.
If you dig a hole in the ground and line it with stone, you’ve just built a very expensive puddle. Unless you live in a desert, you need a gravel base at least 6-12 inches deep or a dedicated drainage pipe leading away from the pit. If you don't, you'll be staring at a bowl of stagnant mosquito water three days after every rainstorm. Honestly, most people are better off building "up" with a raised stone wall than digging "down."
Modern Alternatives: Gas and Ethanol
Not everyone wants to smell like a campfire for three days. I get it. If you’re in a high-density urban area or a place with strict "no-burn" days like parts of California or Colorado, wood isn't even an option.
Gas fire tables are the "easy button" of yard fire pit ideas. You flip a switch, and you have ambiance. No hauling logs. No ash. No soot.
The downside? The heat output is usually lower than a real wood fire. A standard propane fire table puts out about 30,000 to 50,000 BTUs. That’s enough to keep your hands warm, but it won't heat a whole patio on a 40-degree night. If you want real warmth from gas, you have to invest in a high-output burner—look for brands like Warming Trends—that can push 100,000+ BTUs. These use "crossfire" technology to make the flame look more like a chaotic wood fire and less like a gas range.
Designing for Socializing
Shape matters.
Round pits are for storytelling and equal conversation. Everyone faces the center. It’s democratic. Square or rectangular pits are better for linear patios or as "dividers" between different outdoor zones.
Think about the "lean." People naturally want to lean toward the fire. If your seating is too low, it’s hard to get up. If it’s too high, you lose the warmth on your legs. The sweet spot is a seat height of about 17 to 18 inches, which is standard chair height. If you're building a built-in stone bench, make sure the back is angled slightly. A 90-degree stone wall is incredibly uncomfortable for more than ten minutes.
The Maintenance Reality Check
Steel rusts. Stone shifts. Wood rots.
If you buy a Corten steel fire pit, you’re leaning into the rust. That’s the point. Corten develops a protective layer of oxidation that actually stops it from corroding through. But if you buy a cheap painted steel pit, that paint will flake off in one season. You’ll be left with a flaky, orange mess on your pavers.
Clean out the ash. This is the one thing no one does. Ash is acidic. When it gets wet, it turns into a paste that eats through metal and stains stone. Buy a simple metal bucket and a small shovel. Wait 24 hours. Scoop it out. Your pit will last three times longer.
Actionable Next Steps for Your Project
Start by checking your local municipal code. Many cities have "open burn" ordinances that dictate exactly how far a pit must be from a property line. Don't spend $2,000 on a stone installation only to have a code enforcement officer tell you to tear it down.
Once you have the green light:
- Mark the footprint: Use a garden hose or spray paint to outline the pit and the seating area on your grass. Leave it there for a week. Walk around it. See if it blocks the flow of your yard.
- Pick your fuel: If you want a "ritual" (gathering wood, building the flame), go wood-burning. If you want "convenience" (glass of wine after work for 20 minutes), go propane or natural gas.
- Invest in a cover: Regardless of the material, a heavy-duty waterproof cover is the best $50 you will ever spend. It prevents the "stagnant water and ash" soup that ruins most pits.
- Source your wood: If going the wood route, find a local supplier for kiln-dried hardwood. Softwoods like pine pop and throw sparks everywhere, which is a recipe for a hole in your favorite sweater.
A fire pit shouldn't be a chore. It should be the place where the phones go away and the real conversations start. If you focus on airflow, safety distances, and comfortable seating heights, you'll actually use the space instead of just looking at it through the window.