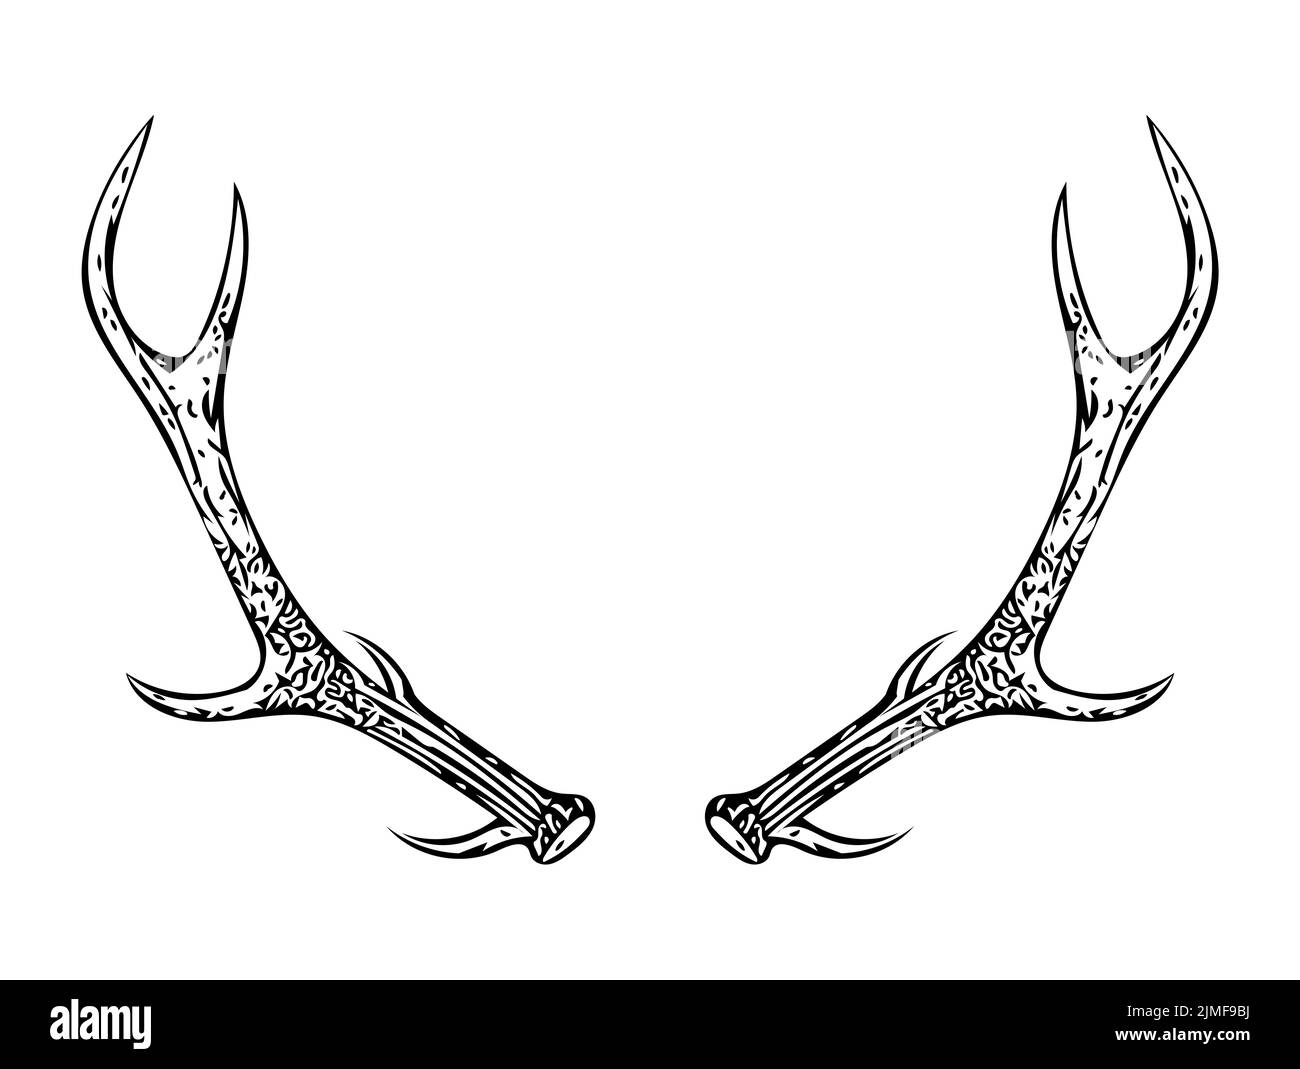
You’ve probably seen it a thousand times. A beautiful drawing of a stag, majestic and proud, but the head looks like it’s sprouting a pair of symmetrical, wooden coat hangers. It’s a common trap. Most people approach the challenge of how to draw deer antlers by thinking of them as static branches or stylized crowns. In reality, antlers are bone. They’re living tissue that grows, hardens, and dies every single year, and that biological "messiness" is exactly what makes them look real on paper.
If you want to move past the "cartoon" look, you have to understand the weird, bumpy, and often asymmetrical truth of cervid anatomy. Nature isn't perfect. It's actually kinda chaotic.
The Secret is the Pedicle
Before you even touch your pencil to the paper to start the main beams, you have to look at the skull. This is the part most beginners skip. Antlers don’t just float on top of the fur. They grow from the pedicles, which are permanent bony bumps on the frontal bone of the deer's skull.
Think of the pedicle as the "root" system. If you draw the antler coming straight out of the hair without a visible base, it’ll look like a sticker slapped onto the head. Real antlers have a flared, textured ring at the bottom called the burr or the "coronet." This is where the antler meets the skin. When you’re sketching your initial head shape, mark two solid circles just above the eyes. These aren't flat. They’re angled slightly outward. If you get the angle of the pedicles wrong, the whole rack will look like it’s sliding off the deer’s face.
Getting the Main Beam Right
Basically, every antler starts with the main beam. This is the primary trunk from which all other points (or tines) grow.
Here is the trick: the main beam almost never goes straight up. In White-tailed deer, for instance, the beam curves back, then swings out wide, and finally hooks forward toward the nose. It’s a three-dimensional swoop. If you’re drawing a Mule deer, the story changes entirely—their beams bifurcate, meaning they split into "Y" shapes.
Try this. Instead of drawing the whole antler at once, draw a single wireframe line for the main beam. Keep it fluid. Don't worry about thickness yet. Just focus on that sweep. You’ve got to imagine it moving through space, wrapping around an invisible sphere. Most artists make the mistake of drawing antlers too flat, as if the deer is pressed between two sheets of glass. In the wild, those tips are often pointing right at you or away from you. Foreshortening is your best friend here.
Those Bumpy Bits Matter
Texture is where a drawing goes from "okay" to "whoa." Antlers aren't smooth like polished marble. Well, mostly. While they are growing, they’re covered in velvet, a soft, fuzzy skin packed with blood vessels. If you're drawing a deer in late summer, the antlers should look thick, soft, and slightly rounded at the tips.
But if you’re drawing a buck in the rut, those antlers are hard bone. They have pearling—those little bumps and ridges near the base. These are formed by the dried-up paths of the blood vessels that nourished the bone while it was growing.
Honestly, the best way to do this is to use a "stippling" or "scumbling" technique with your pencil. Don't draw straight lines up the length of the beam. Instead, use short, jittery marks near the burr. As you move toward the tips (the tines), the bone becomes smoother and lighter in color. Why? Because the buck has been rubbing those antlers against trees to scrape off the velvet and fight rivals. This literally polishes the tips. The ends should be sharp and almost white, while the base is dark, stained by tree bark and dried blood.
Symmetry is a Lie
If you draw the left antler as a perfect mirror image of the right, you’ve failed. Sorry, but it’s true.
In nature, antlers are rarely perfectly symmetrical. One side might have an extra point—known as a nontypical point—or one beam might be slightly more curved than the other. Biologists like those at the National Deer Association often point out that injury, nutrition, and genetics all play a role in these "imperfections."
When you're learning how to draw deer antlers, lean into the weirdness. Maybe the third tine on the right side is a bit stunted. Maybe there’s a small "sticker" point growing off the base at a weird angle. These little quirks tell a story. They make the viewer feel like they’re looking at a specific animal with a history, not just a generic icon of a deer.
Tines, Points, and the "G" Scale
In the world of hunters and naturalists, tines have names. If you’re drawing a White-tail, the first point sticking up near the base is the brow tine (often called the G1). Then comes the G2, which is usually the longest, followed by the G3.
- Start with the Brow Tines: These protect the eyes during fights. They’re usually short and vertical.
- The Long Tines: The G2 and G3 provide the height and "stature" of the rack. Draw these with a slight taper. They should look like they could actually pierce something—sharp, but with a solid, heavy base.
- The Webbing: Occasionally, you’ll see "palmation," where the space between tines fills in with bone, making it look like a hand or a paddle. This is common in Moose, of course, but you’ll see it in older Fallow deer too.
Don't just stick them on like branches on a Christmas tree. The bone should "flow" into the tine. Look at the "crotch" where the tine meets the beam. It should be a smooth, curved transition, not a sharp 90-degree angle.
Lighting the Bone
Bone is porous. It catches light differently than fur or skin. When shading, remember that the underside of the main beam will be in deep shadow, especially if the deer is standing in a forest with overhead light.
Use a high-contrast approach. Because antlers are hard, they have "specular highlights"—those bright, crisp spots where the sun hits a polished tip. If you make your shadows too soft, the antlers will look like they’re made of rubber. You want them to look heavy. A large set of elk antlers can weigh 40 pounds. Your drawing should reflect that weight. The neck muscles of the deer should look tense, supporting the massive structure of the head.
If the deer is in "velvet," forget the sharp highlights. Use soft, blended shading to give it a matte, fuzzy appearance. You can even use a kneaded eraser to "tap" out some highlights, creating a mottled, organic look.
Species-Specific Weirdness
You can’t use a one-size-fits-all approach. If you’re drawing a Reindeer (Caribou), the antlers are massive and have a unique "shovel" or "plow" that hangs down over the face. This is used for clearing snow.
If you’re drawing an Elk (Wapiti), the antlers go way back, sometimes almost touching the animal's back. They don't have that forward-hooking "C" shape of a White-tail. They are long, sweeping spears.
Research your specific species. Go to sites like iNaturalist or look at high-res photography from wildlife experts. Look at the skull from the side, the front, and the top. Understanding the "architecture" of the specific species is what separates a hobbyist from a professional wildlife artist.
Practical Steps for Your Next Sketch
Stop thinking about the finished product for a second. Just grab a sketchbook.
- Step 1: Draw the skull first. Not the skin, the actual bone. Locate the frontal plates.
- Step 2: Sketch the "V" or "Y" angle of the pedicles. Ensure they are seated firmly on the head.
- Step 3: Use a single, light line to map the "gesture" of the main beam. Does it sweep? Does it drop?
- Step 4: Map out the tines as simple sticks. Check your spacing. Are the brow tines there?
- Step 5: "Flesh out" the bone. Add thickness, making sure the beam is thickest at the base and tapers toward the end.
- Step 6: Add the "burr" at the base with messy, textured marks.
- Step 7: Shade for weight. Darken the undersides and keep the tips bright and polished.
Actually, the best way to get better is to draw them "cast." In the spring, deer drop their antlers (this is called "shedding"). If you can find a real shed antler in the woods or buy one at an antique shop, keep it on your desk. Turn it around. See how the light hits the pearling. Feel the weight.
Drawing from life is always superior to drawing from a screen. You'll notice that the tines aren't perfectly round; they're often a bit flattened or triangular in cross-section. You'll see the tiny cracks and weather-beaten grooves that tell the story of a winter survived.
Once you master the structure, you can start playing with the "character" of the deer. An old, "boss" buck might have broken tips from fighting. A young "spike" buck will just have two simple, straight points. The antlers are the biography of the deer. Treat them with that level of detail, and your art will instantly stand out from the sea of generic, symmetrical sketches.
Go find a reference photo of a "non-typical" rack. Try to map out the chaos of those extra points. It’s the fastest way to break your brain out of the habit of drawing "perfect" (and boring) antlers. Focus on the flow of the bone and the grit of the texture. Keep your lines loose until the structure is solid.


